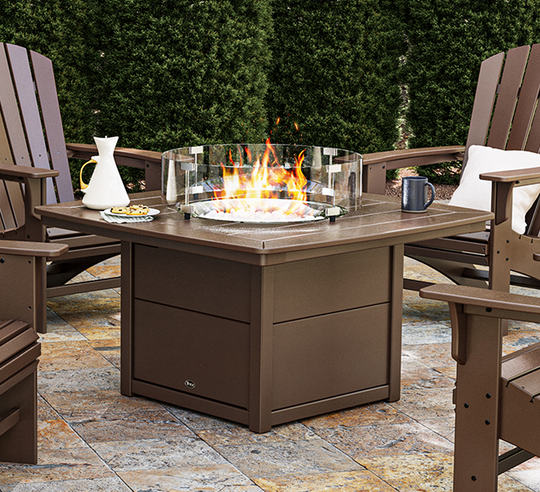
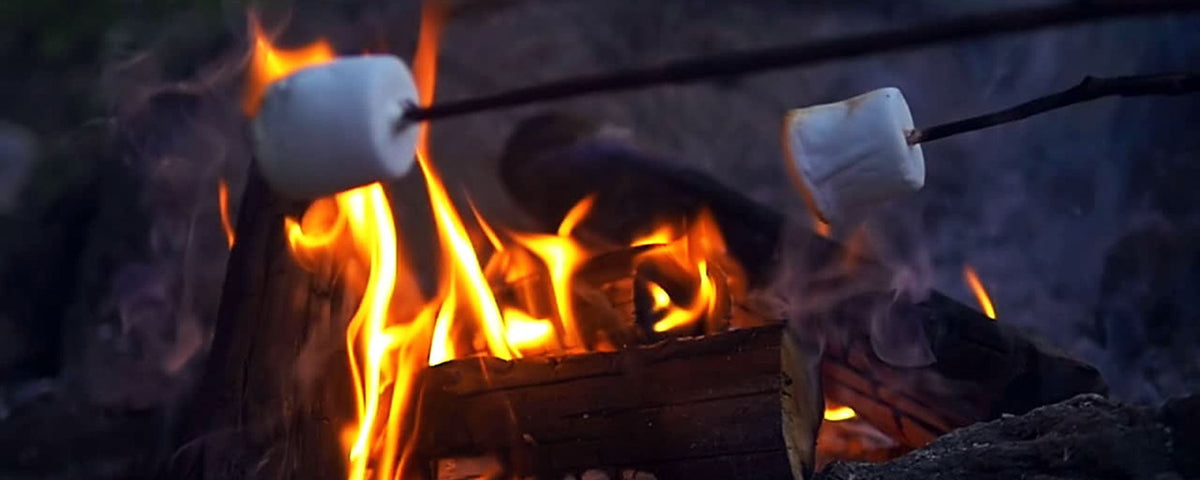
There’s nothing like roasting hot dogs or marshmallows over a crackling fire as bright specks of ember rise into the night air. A backyard fire pit is the perfect gathering spot for friends and family—a place to enjoy an impromptu cookout, a few drinks, and plenty of conversation.
Don’t have a fire pit? No problem. Here’s our ultimate do-it-yourself pit, which you can create in a weekend (actually…start early Saturday and enjoy a fire in the evening!). Keep in mind you can scale your fire pit size up or down, and the metal fire-ring insert is completely optional.
Helpful Hints Before You Start
- Build your fire pit well away from structures, fences, foliage, and tree branches.
- Check local ordinances to make sure fires in your yard are permitted.
- Before you site your fire pit, determine which way the wind generally blows. You won’t want all the smoke blowing onto your neighbor’s property, for example.
- Don’t use any stones that have been submerged in water, as they can explode in the fire pit’s heat.
- Keep in mind that concrete blocks may break down from the heat over time, but the beauty of using them is that they’re a cinch to replace.
- Understand that while a metal fire pit liner/insert is not mandatory, it protects the rocks from deterioration and creates a structurally sound core.
- Keep a level handy at the outset of building to ensure your blocks lie on perfectly flat land.

Supplies Needed
All items can be purchased at most home-supply retailers.
- Retaining wall blocks (though you can use any type of field stone or landscaping blocks)
- Galvanized round fire pit ring (also called campfire ring, cooking pit, or fire-ring insert), optional
- Gravel
- Sand
- Spray paint (Krylon Quik-Mark, for instance, is fast-drying and won’t damage your grass)
- Shovel
Directions for Building a DIY Fire Pit
Below is a great illustration of how you’ll arrange all the elements for your fire pit:

- Find a flat area to site your fire pit, away from anything that can catch on fire (trees, buildings, fences).
- If you’re using a fire pit ring, place it where you’d like the pit and arrange a row of blocks around it to determine the placement and number of stones required for each row.
- Outline the stone/ring circle with marking spray paint so you know where to build.
- Remove the stones and the fire pit ring for the moment, and use your shovel to dig out your circle 12 inches deep.

- Once the hole is dug, use the level to help you create as flat a space as possible, then fill it with a four-inch layer of gravel.
- To help with drainage, top your gravel layer with four inches of sand and tamp it flat to create a solid base for your pit.
- Begin laying your stone, stacking it in whatever pattern you like. If you’re using a steel ring inside, you may want to set that in the center to ensure you’re placing your stone tightly around it.
- As you stack, try to leave three to four wider gaps (two inches or so) on each row to provide side ventilation for the fire pit. We’re not using any masonry adhesive here for a few reasons:
- It’s a pain.
- It's one less step to take.
- If a rock cracks or breaks, it’ll be easier to swap it out later if you don’t use adhesive.
Ashley from Actually Ashley also made a non-permanent fire pit, so they could move it in the future.

- After stacking about three or four layers, shovel about two or three extra inches of gravel into the pit to create a nice burning surface for your firewood.
- Continue to stack stone until your pit stands about a foot tall, give or take a bit. A good rule is to make your pit no taller than 18 to 20 inches; otherwise, the fire will be too far down to enjoy. If you’re using the fire pit ring, you may want to stack one layer of stone over the ring’s lip to secure it (not shown below).

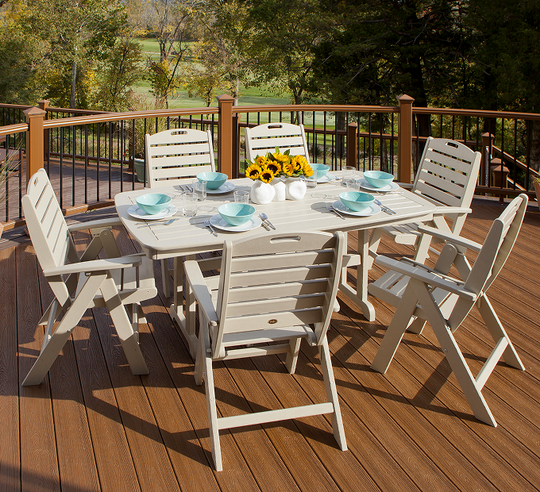
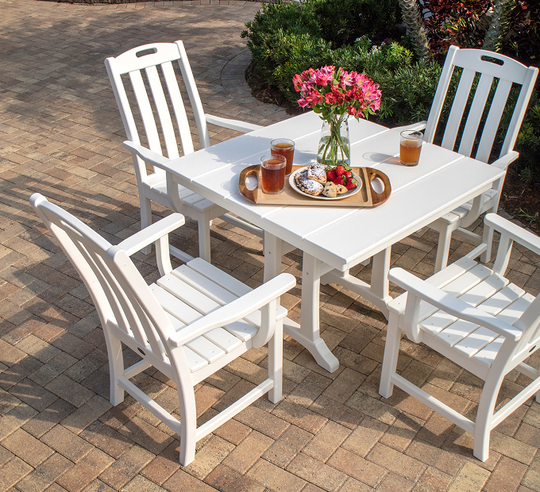
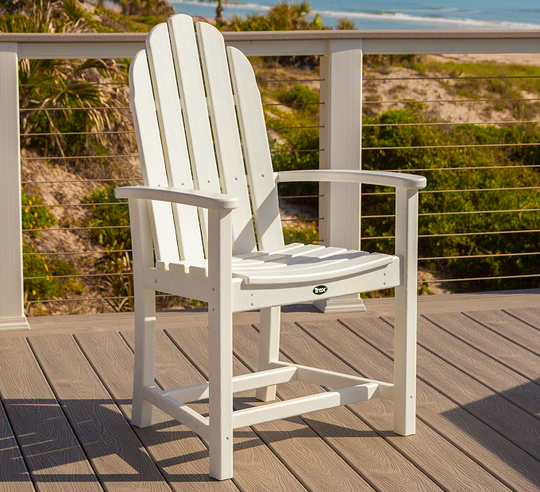
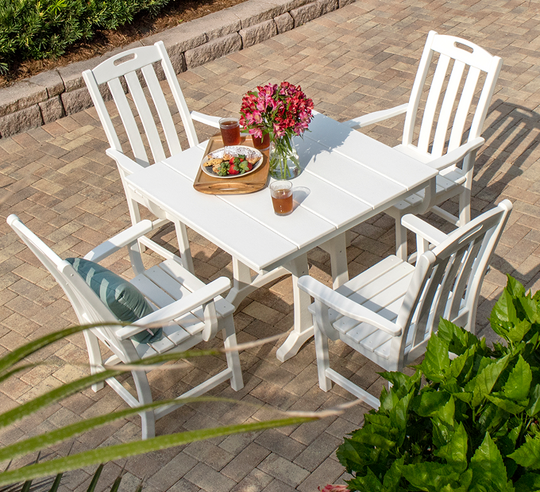
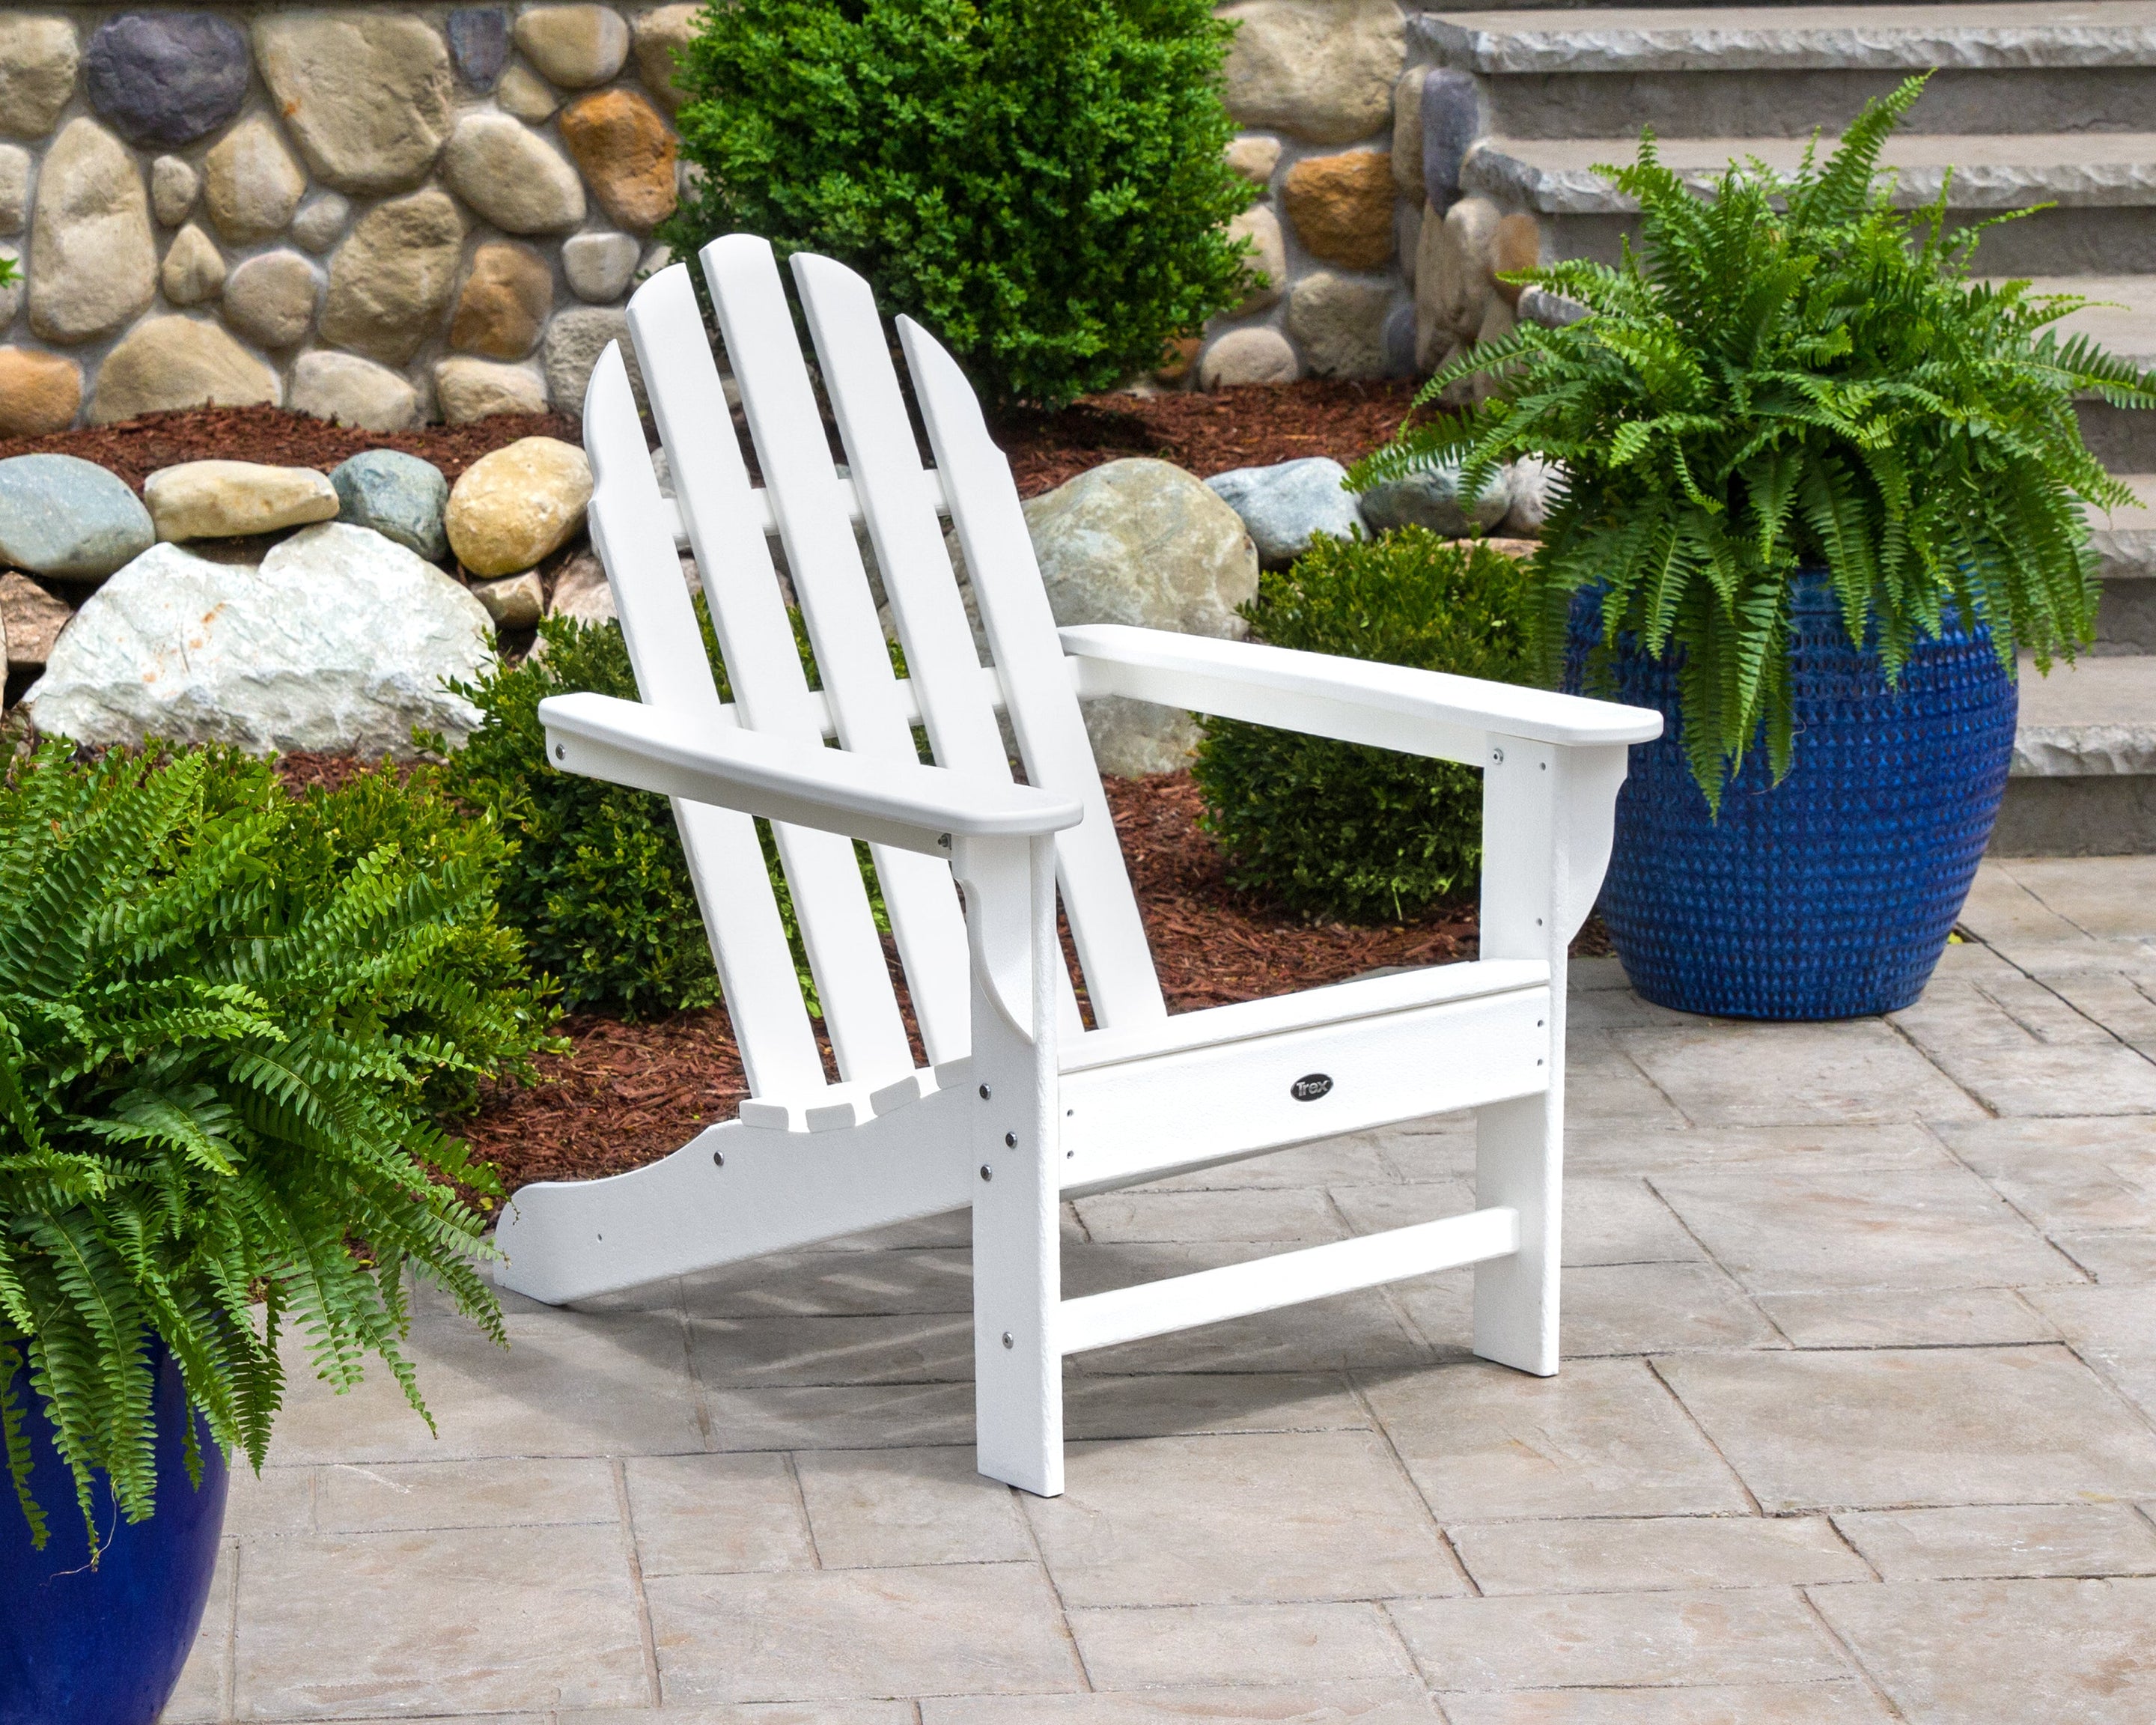
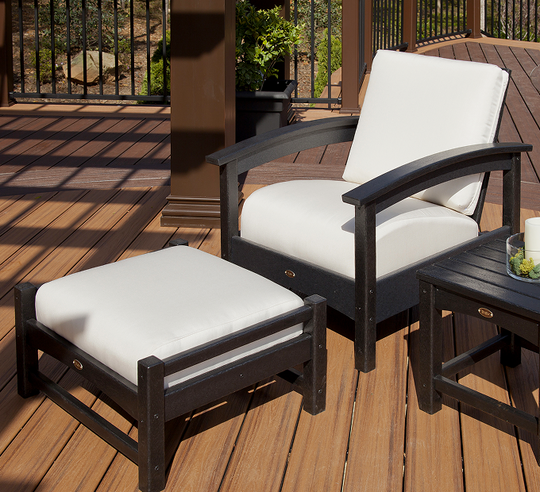
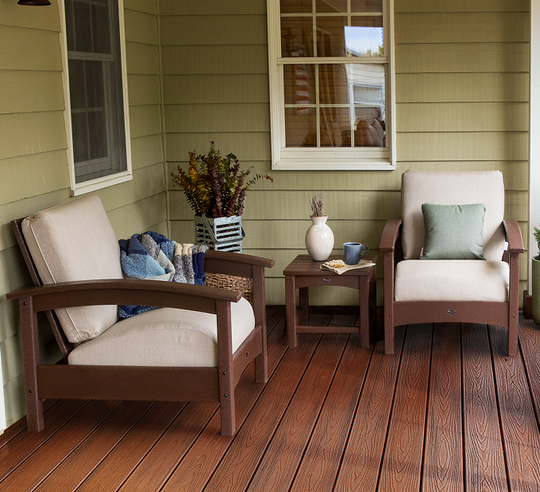
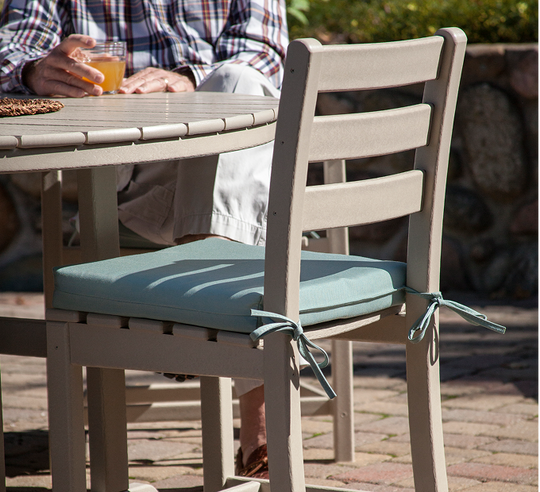
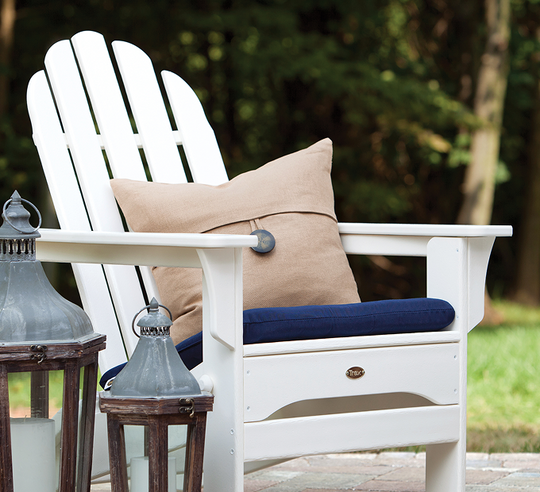
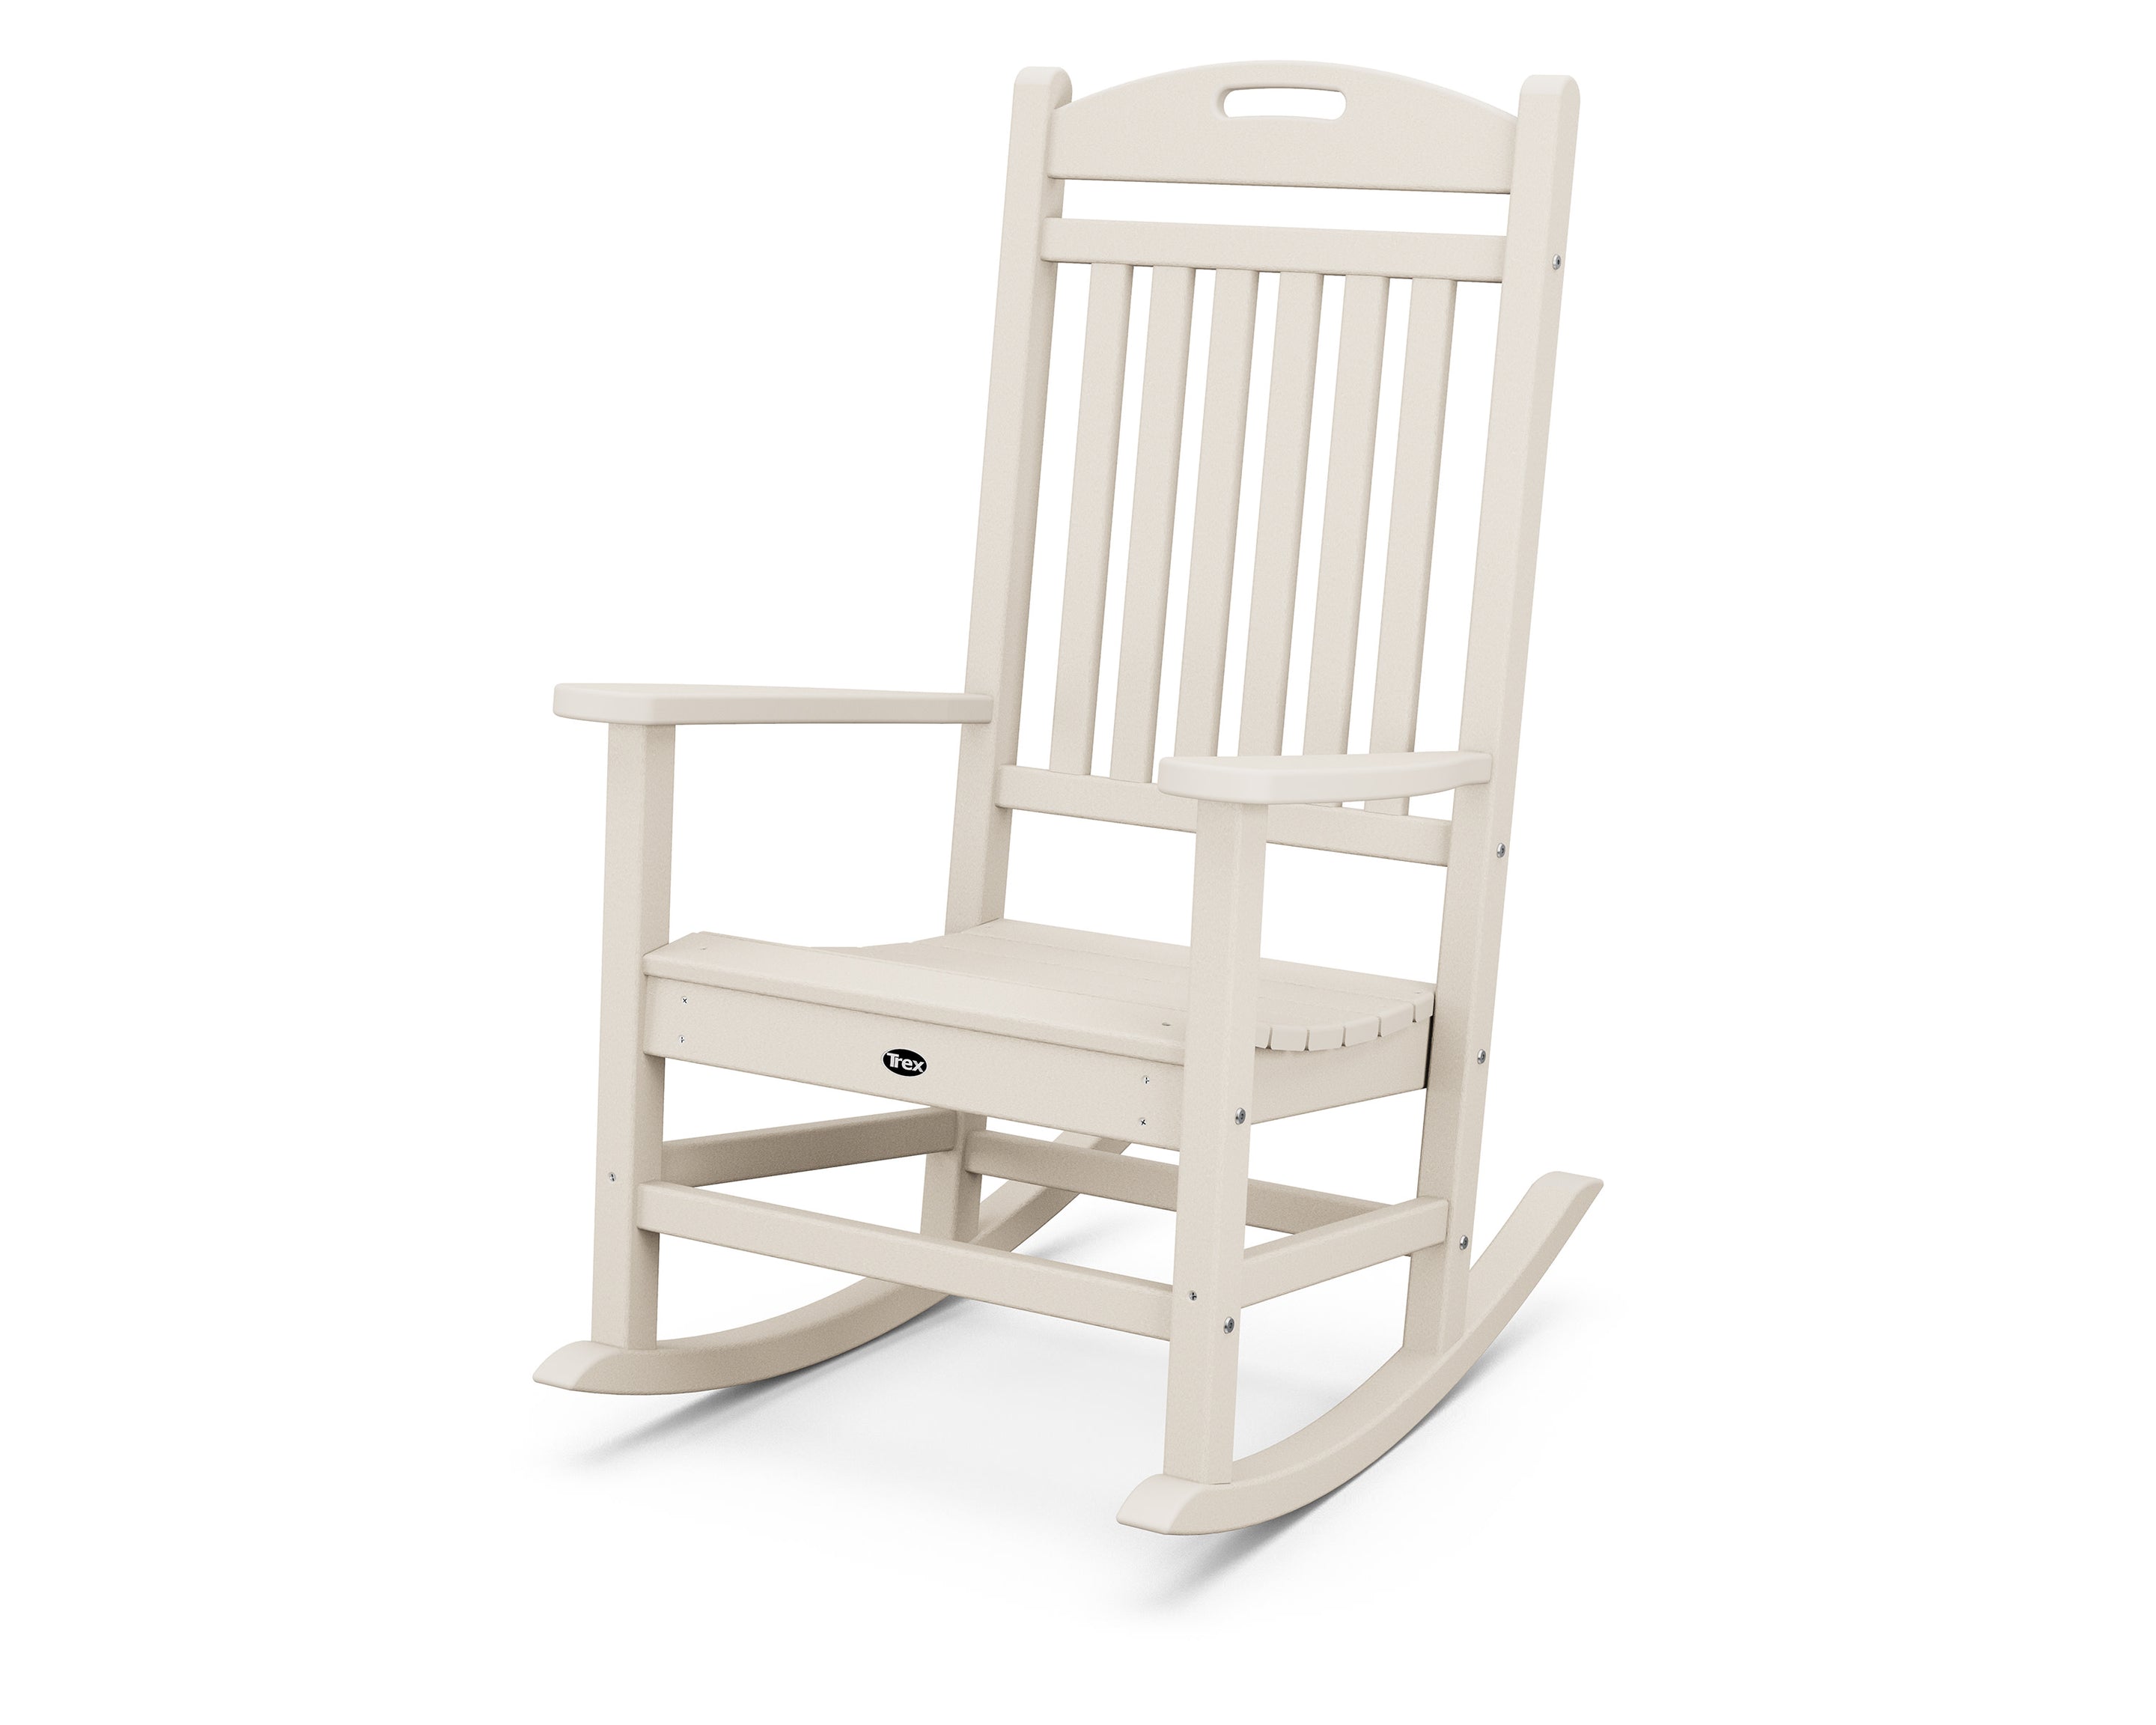
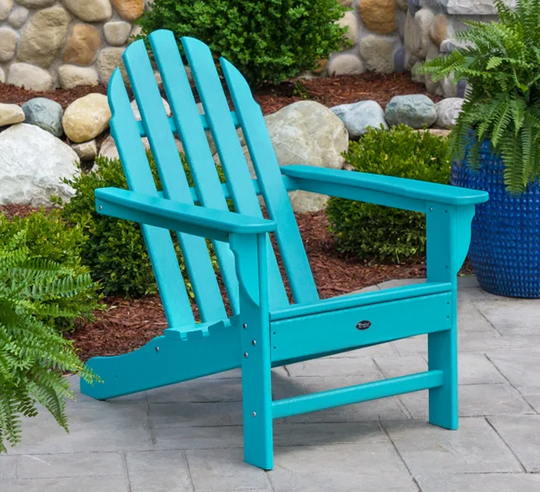
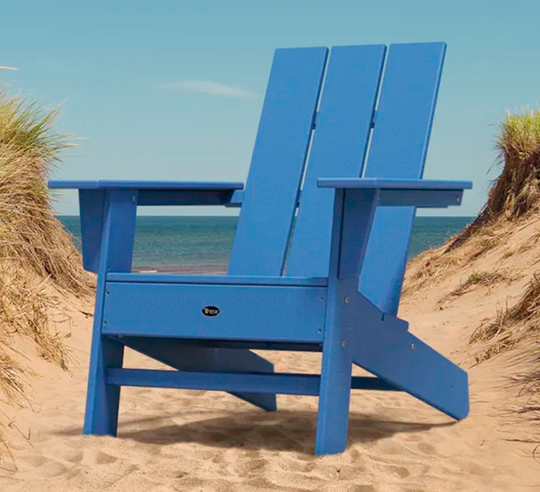
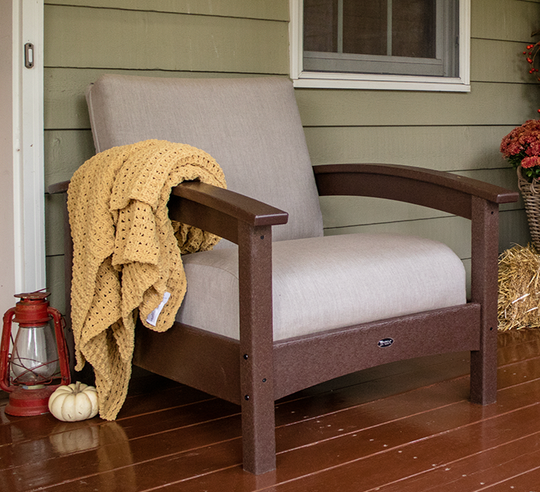
Remember to add comfortable seating around the fire pit. A set of Trex Outdoor Furniture Cape Cod Adirondacks is the perfect seating, provided you don’t get the chairs too close to the heat.

Now that you’ve put plenty of sweat equity into creating your fire pit, relax. The beauty of creating this fixture in your yard is that it’s easy to maintain and creates a long-lasting outdoor activity you, your family, and friends can enjoy.
