


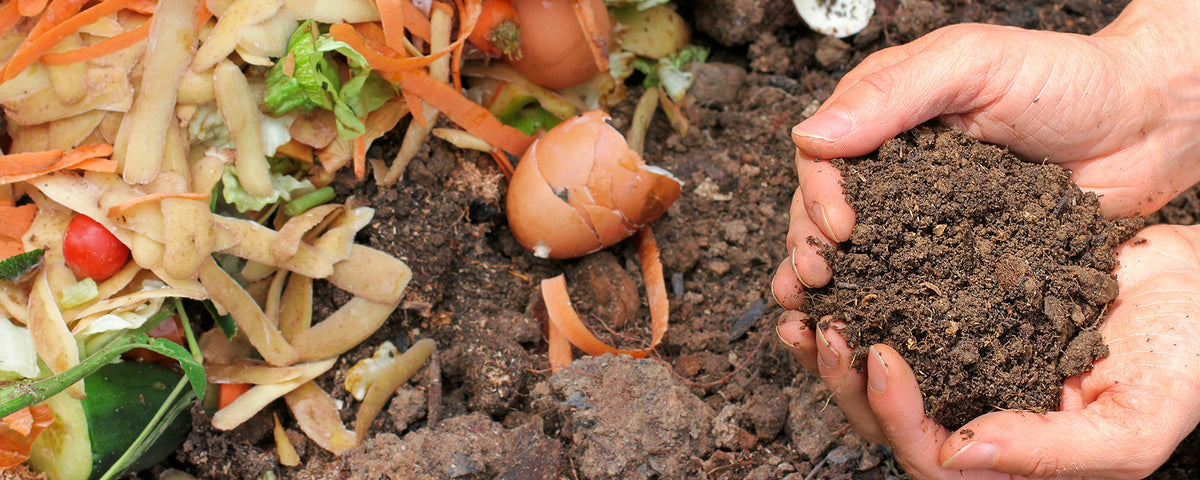
Wait! Don’t throw those leftovers in the trash! Instead of discarding them, it’s just as simple to use your lunch scraps to benefit your garden. You can do this by composting them.
As organic matter naturally decomposes, it turns into a wonderfully rich fertilizer you can use in your garden to boost your flowers' blooms—and you don’t need to be a farmer or even have an acre of land to compost.
Not a DIYer? No problem! There are excellent, ready-made solutions you can just assemble and start composting. But if you'd like to make your own, we can walk you through the process.
In This Article
Build a Compost Bin From a Storage Tote
Not handy? That’s okay. You don’t need to be to make this compost bin. And you don’t need to spend much money. You know those big, colorful storage bins you buy to store clothes and Christmas ornaments in the attic? They make great compost bins, as shown in Young House Love's tutorial.

Photo credit: Young House Love
Supplies Needed
- Storage bin with lid
- Power drill
- 1/4" drill bit
Instructions
- Drill holes in random spots all over the storage bin, top, bottom, and sides.

Photo credit: Young House Love
- Once you fill the compost bin, turn the compost once a week using a shovel to ensure good airflow for decomposition.

Photo credit: Young House Love
Build a Compost Bin From a Trash Can
This compost bin project from The Spruce gives garbage cans a new purpose.
Supplies Needed
- Power drill
- 2- or 3-inch hole saw bit
- 32-gallon (or larger) plastic or metal trash can with lid
- Rubber gloves
- Tin snips
- Aluminum screen fabric
- Epoxy adhesive or silicone caulk
- (Optional) bricks
Instructions
- Drill holes in the lid, sides, and bottom of the trash can.

Photo credit: The Spruce / Colleen & Shannon Graham
- Use the tin snips to cut the window screening into pieces large enough to cover the holes.
- While wearing rubber gloves, attach the window screening inside the trash can over each hole with epoxy or caulk.

Photo credit: The Spruce / Colleen & Shannon Graham
- Once the epoxy or caulk has fully cured, place your new compost bin in your yard. If the area allows, place it on top of a few bricks to allow air circulation beneath the bin.

Photo credit: The Spruce / Colleen & Shannon Graham
What to Put in a Compost Bin

What to Leave Out of a Compost Bin

How to Make Your Compost
To begin your compost pile, add in some brown material—a few shovelfuls of gardening soil or any existing compost you may have. Brown gives your compost carbon, while green, such as lawn clippings, adds nitrogen to the compost—both aid in decomposition of the organic matter.

Microbes that break down matter rely on these two ingredients, so try to keep them balanced for optimal decomposition. Adding too many grass clippings, for example, won’t allow for proper decomposition.
Wet the compost pile or bin with a hose, mix everything thoroughly, then water again until it’s fully saturated.
Composting Tips
- Turn the pile often—at least once a week—to help aerate the compost.
- Remember that direct sunlight and heat speed up the composting process, so pick a spot with plenty of light.
- Keep your scraps moist—like a squeezed-out sponge—but not overly wet.
- Maintain a good green-to-brown ratio; some composting experts swear by their method, but you can either layer the greens and browns or mix everything together.
Composting FAQs
How do I know when my compost is done?
Compost creation can take anywhere from three months to a year, depending on factors such as materials, outdoor temperature, and how often you turn it. You’ll recognize your compost as ready when it looks like rich, black soil without visible pieces of food scraps and other debris.
What do I do with compost when it's ready?
Apply compost to a garden two to four weeks before planting for the season, allowing the rich nutrients to sink into the soil.
What are the four ingredients needed to make compost?
The basic ingredients needed to make compost are nitrogen, carbon, water, and air. Nitrogen comes from green materials, such as grass clippings and fruit and vegetable scraps. Carbon comes from brown materials, like dry leaves and twigs. Water keeps the compost moist, and air helps microorganisms thrive.
Do compost bins smell?
Compost bins can develop an unpleasant smell. This usually indicates an issue with the composting process. You can reduce the odor by maintaining a proper balance of "greens" to "browns," turning the compost often to ensure good airflow, and regularly emptying the bin to prevent moisture and food scrap buildup.