Originally Published on May 16, 2018. Last Updated on January 14, 2019.
As summer approaches, it’s prime time for some DIY projects for your outdoor living space or garden area. Whether you’re looking to entertain guests on your patio or porch, or spend some time outdoors to up your home’s curbside appeal, we’ve got three project ideas that range from rustic and challenging to practical and easy.
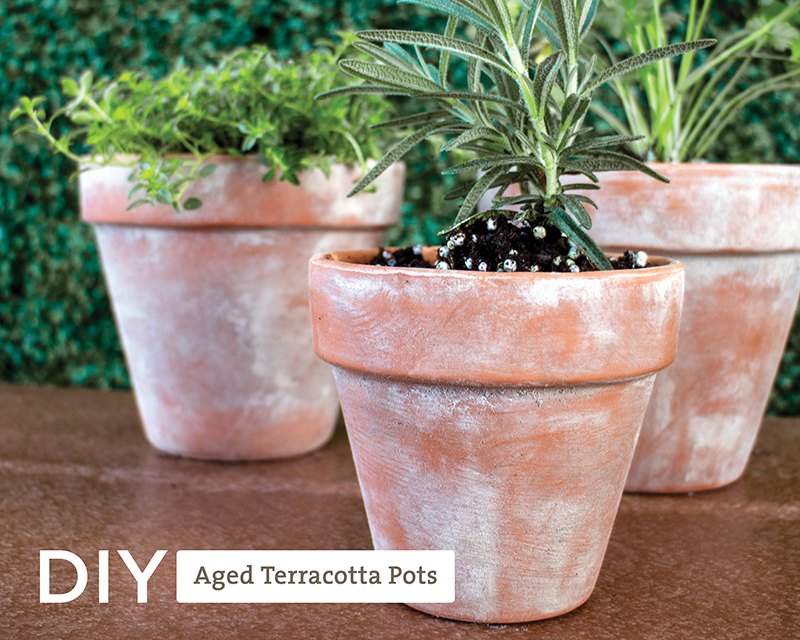
Aged Terracotta Pots
You’ll Need:
- Terracotta pots
- Garden lime
- Soil
- Small paintbrush
- Plastic container (to mix the garden lime and soil)
- 100 grit sandpaper
- Disposable gloves & dust mask
Instructions:
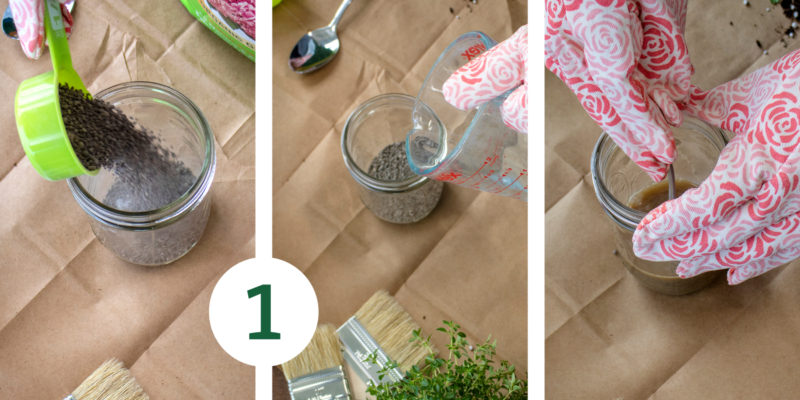
Step 1: Start with the pot to give it plenty of time to dry before placing the flowers. Toss on your disposable gloves and dust mask before mixing ¼ cup of garden lime with ¼ cup of warm water inside the plastic container.
Step 2: Paint a thick layer of the garden lime mix onto the pot. Allow it to dry for 15 to 20 minutes.
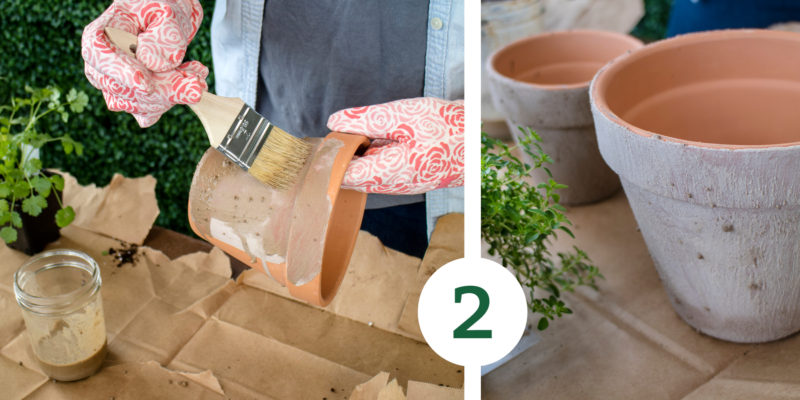
Step 3: While the pot dries, mix more garden lime with enough soil and water to make a muddy substance.
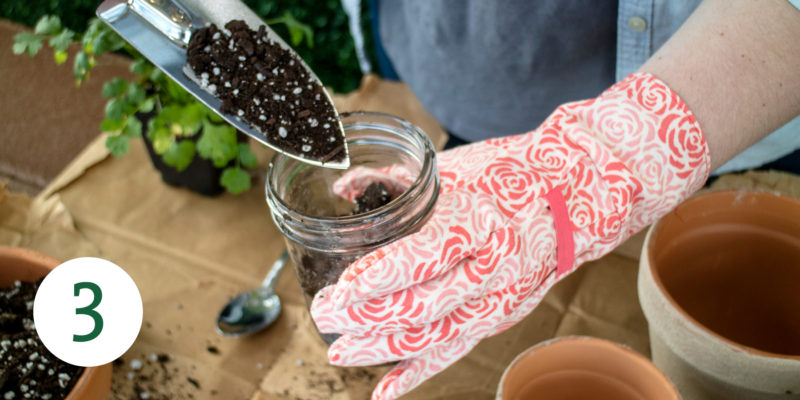
Step 4: After the pot dries, put a coat of the muddy substance around the entire pot. Allow it to dry for 60 to 75 minutes.
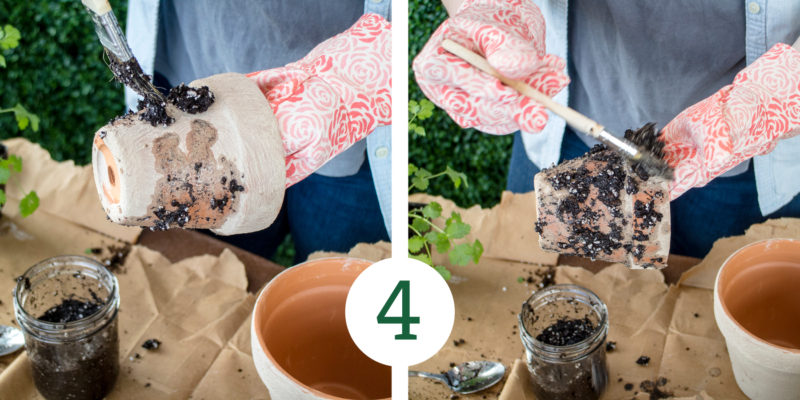
Step 5: Once the pot is dry, use the sandpaper to rub off the layers of garden lime and mud.
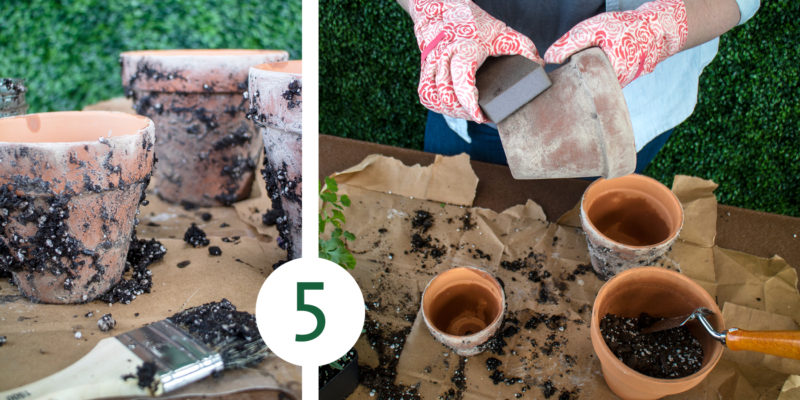
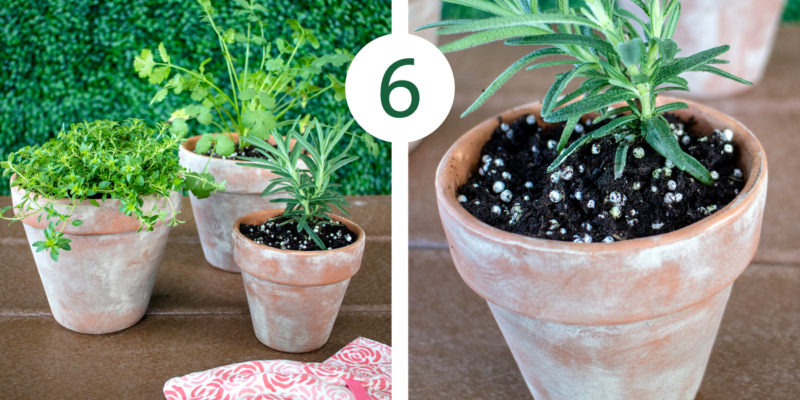
Step 6: Plant!
See more details and photos at “Fixer Upper” star Joanna Gaines’ Magnolia blog.
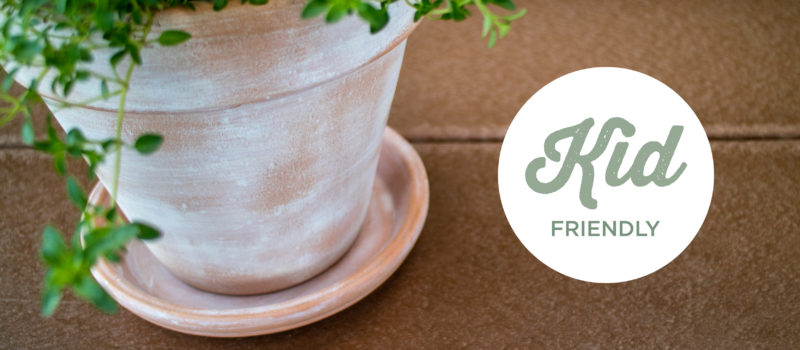
Kid Friendly Aged Terracotta Pots
If the above DIY Aged Terracotta Pot appeared a little intense, here’s a version safe for the whole family. Just replace all that garden lime and mud with white paint!
You’ll Need:
- Terracotta pots
- White paint
- Small paintbrush
- Plastic container (to mix paint with water)
- 100 grit sandpaper
Instructions:
- Dilute white paint in a plastic container with a little bit of water.
- Layer a coat of paint over the entire terracotta pot.
- Let dry, about 15 minutes.
- Once the pot is dry, use the sandpaper to rub off areas of white paint. If you rub off more than you wanted, you can always go back over the area with more paint and start over!
- Now you’re ready to plant!
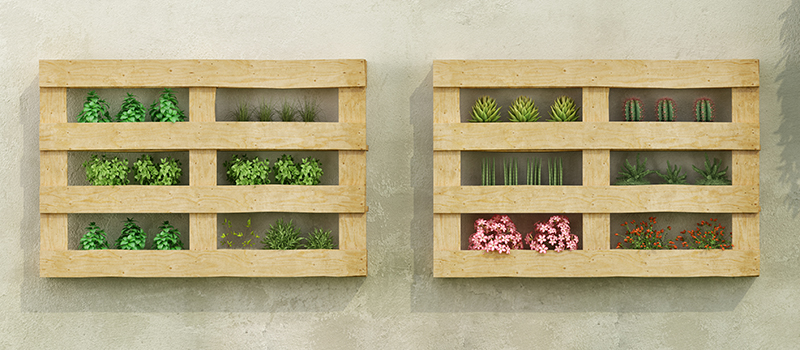
DIY Simple Planter Box
You’ll Need:
- Wooden pallet(s)
- Hand or electric saw
- Hammer or nail gun
- 1.5-inch nails
Instructions:
- Use the saw to cut the pallet into planks. You’ll need three longer planks and two shorter planks (based on how large you want the box) for each planter.
- Attach the shorter strips to a longer pallet strip. Place a nail 1 inch from either end and one in the middle. Each edge should be flush with the other. This will form the bottom of the planter.
- Turn that piece on its side and attach another long plank. Be sure to leave a small gap (no larger than 1/8 inch) for ventilation.
- Flip it over and do the same for the other side.
- Either place potting soil directly into the planter or already-potted plants inside.
This YouTube video offers a more detailed version of the plans and the finished project.
Shutter & Succulents Backdrop
You’ll Need:
- Wooden planter
- Salvaged shutter
- Wood finish or paint
- Steel brackets
- Wood screws
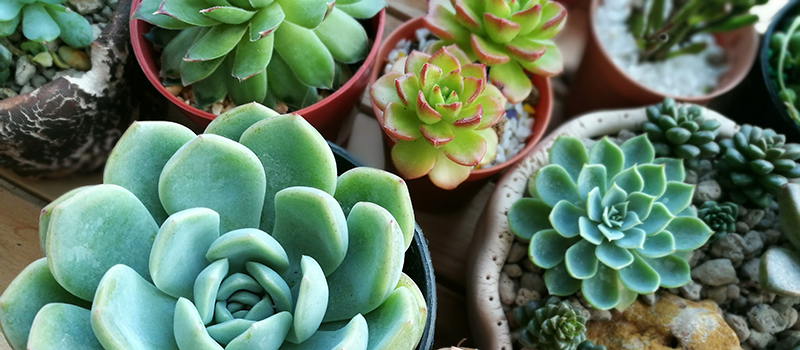
- Your favorite succulents
- Hammer or drill
Instructions:
- Junk sales and re-stores are a great place to find aged window shutters. Look for one that is structurally sound but has some age to provide a bit of character.
- Either find, make, or buy a wooden planter for the succulents.
- Stain or paint both the shutter and the planter. Give each plenty of time to dry before moving on.
- Using your hammer or drill, screw the planter to the shutter. Be sure it’s securely fastened before carefully placing your succulents inside the planter.
- Attach the steel brackets to the wall you plan to hang the shutter/planter from.
- Hang the planter, step back, and enjoy your latest creation!
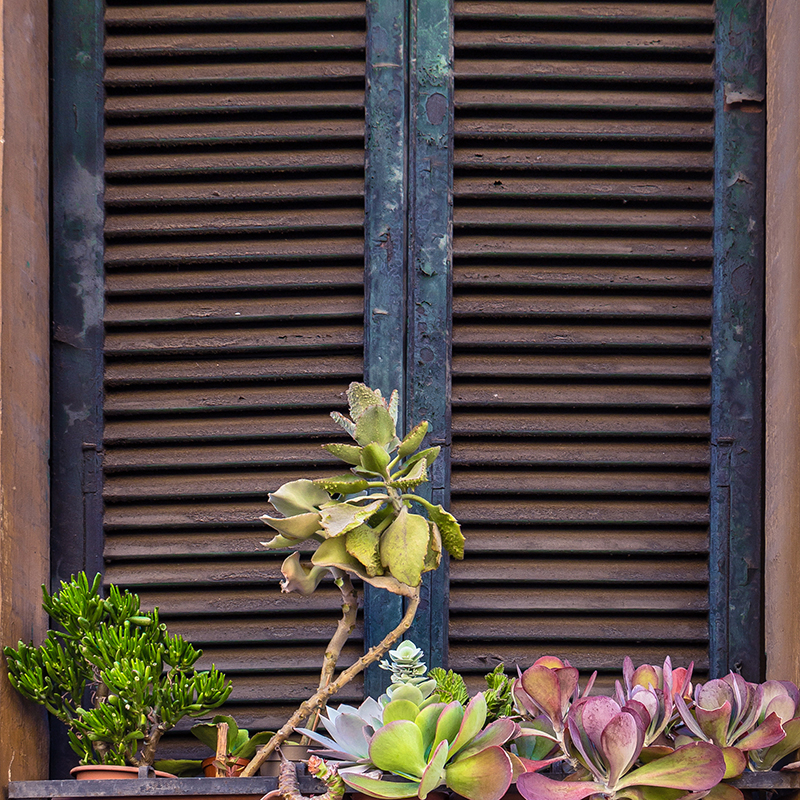
Visit HomeTalk for a detailed tutorial.

