Originally Published on April 5, 2016. Last Updated on March 19, 2020.
Wait! Don’t throw those leftovers in the garbage can!
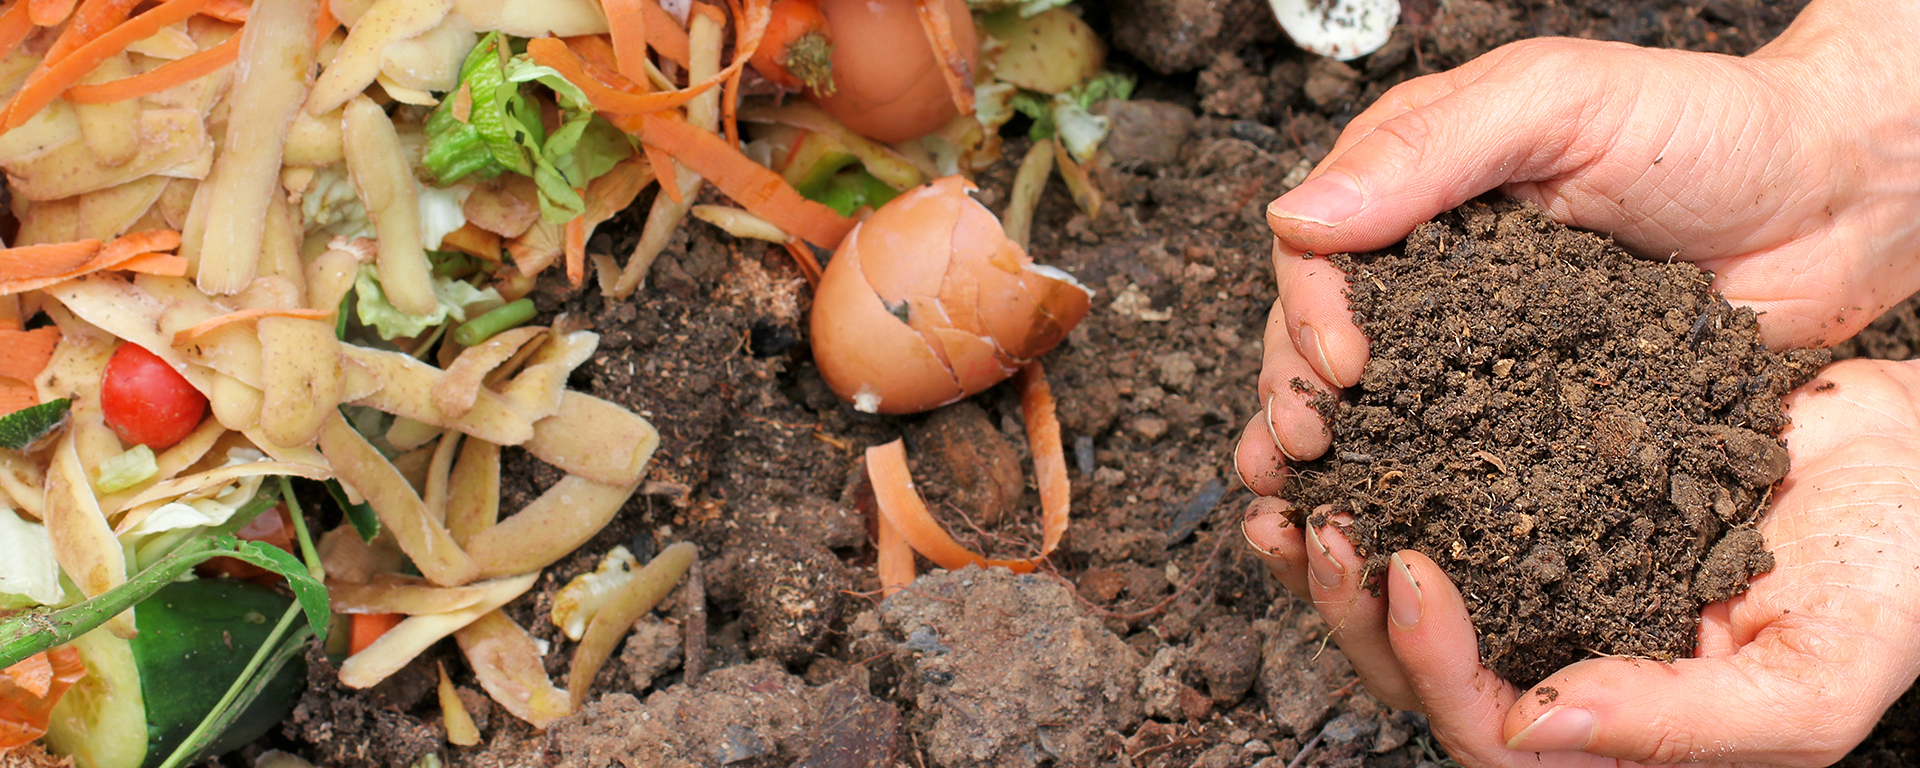
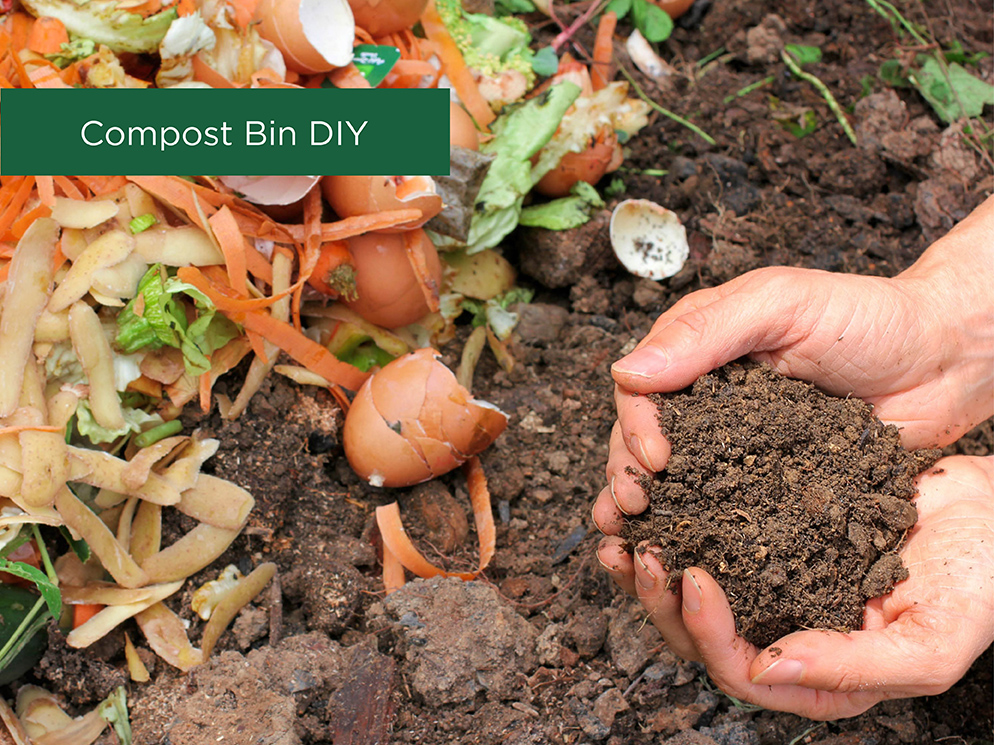
Instead of tossing them, it’s just as easy to put your lunch scraps to good use in your garden. And you can do so by composting them.
As organic matter naturally breaks down, it becomes a delightfully rich fertilizer you can use in your garden to put the blooms on your flowers…and you don’t have to be a farmer or even have an acre of land to compost.
That’s the beauty of it. You can create an easy compost bin virtually anywhere.
Not a DIYer? No problem! There are some great out-of-the-box solutions you can simply set up and get composting. But … if you want to make your own … well, we can tell you how to do that, too.
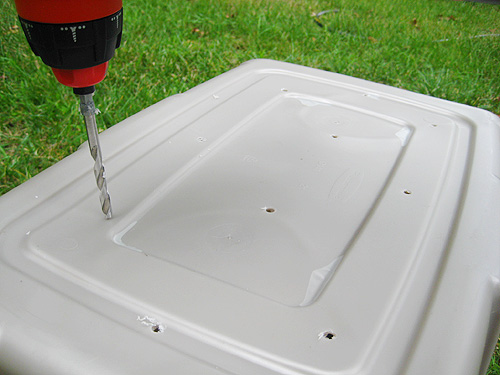
Build an “I Can Use a Drill but That’s About It” Option
Not handy? Cool. You don’t need to be in order to make this compost bin. And you don’t need very much money. You know those big colorful storage bins you buy to store clothes and Christmas ornaments in the attic? They run in the $5 to $10 range and make great compost bins.
(This tutorial was created by Young House Love – be sure to check out their blog for more DIY projects around the house!)
You’ll need:
- 1 Storage bin
- 1 Drill
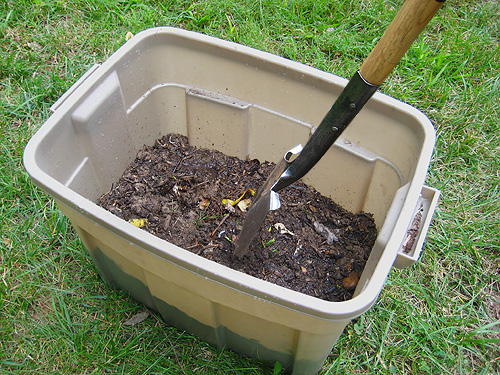
Step One: Drill holes in random spots all over the storage bin, top, bottom, and sides.
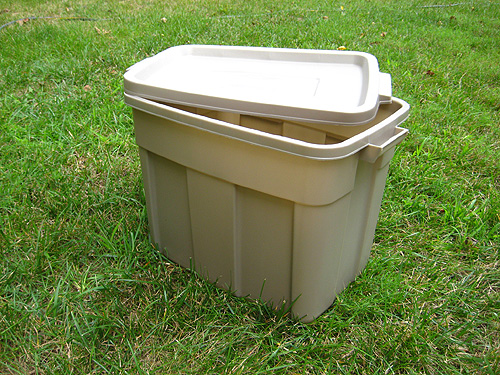
Step Two: Once you fill the compost bin, you’ll want to turn the compost once a week using a shovel to ensure good airflow for decomposition.
Step Three: Kidding! There is no step three. That’s it! See? We told you it’s that easy.
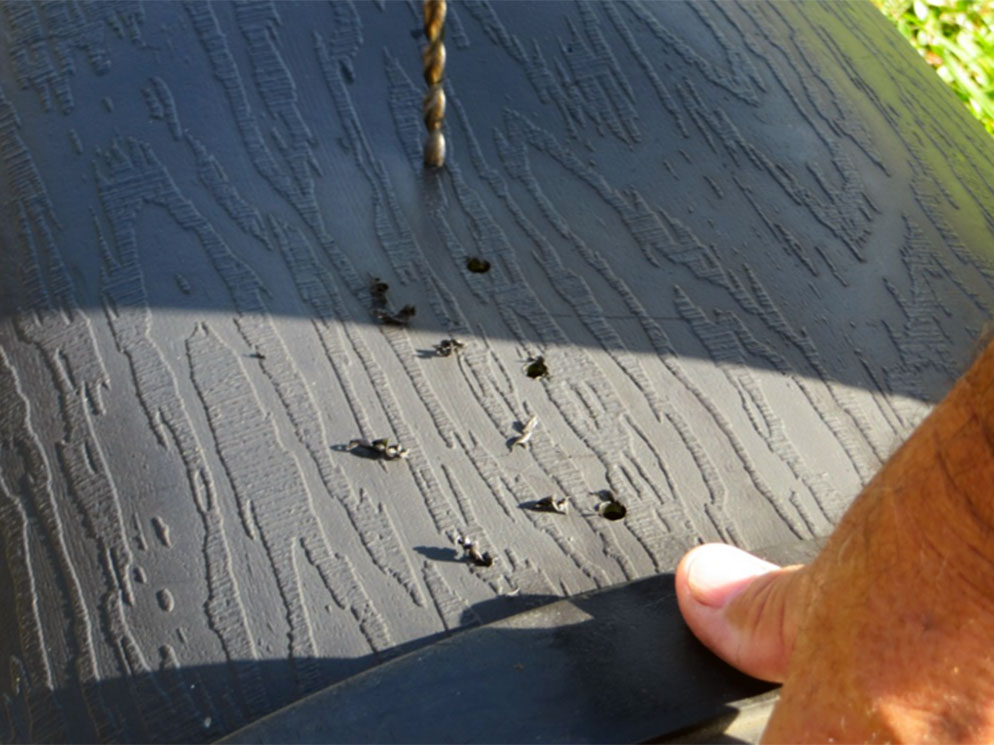
Build the “That First Compost Bin Was Easy, but I Want Something Better for My Back” Option
(This tutorial was created by Naturally Loriel – check out her blog for more tips on living a natural lifestyle.)
You’ll need:
- 1 Plastic garbage can
- 1 Drill
- Two Bungee cords
Step One: Same as above. Drill the holes around the can.
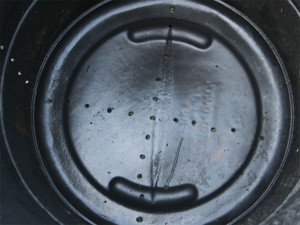
Step Two: In this method, you’ll lay the can on its side, using the bungee cords to secure the can’s top. Now, after it’s filled with scraps, you’ll need to roll the compost bin around a bit once a week to shake up the insides and ensure proper aeration.
The “I’ll Just Leave That to the Pros and Buy a Composter” Option
If you’d rather purchase something rather than making your own, you can find composters at any big-box store or online retailer as well as local gardening centers. They run anywhere from $50 to a couple hundred dollars, depending on what you choose.
What You’ll Need:
- Keys
- A driver’s license
- Some form of payment
Step One: Purchase
Step Two: Assemble according to instructions.
So … let’s say you have your compost bin assembled. Now what?
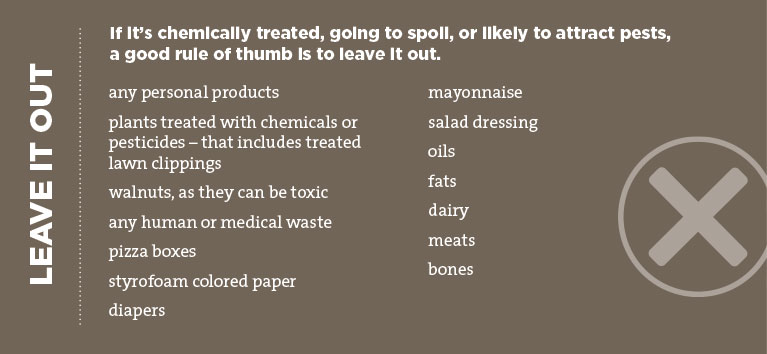
What to Throw In…
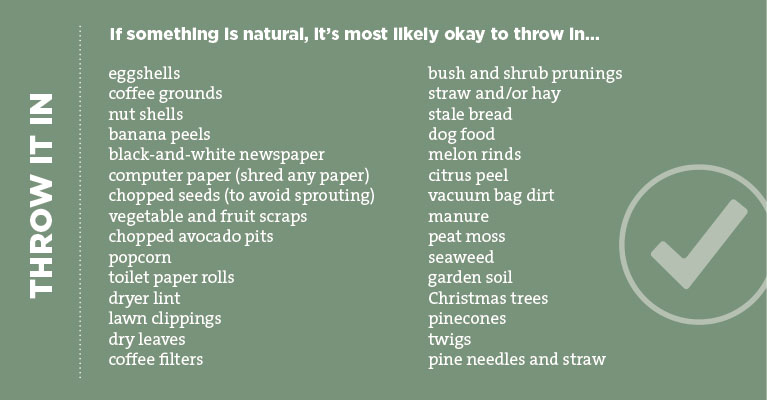
What to Leave Out…
How to Make Your Compost
To begin your compost pile, add in some brown material—a few shovelfuls of gardening soil or any existing compost you may have. Brown gives your compost carbon, while green, such as lawn clippings, adds nitrogen to the compost—both aid in decomposition of the organic matter.
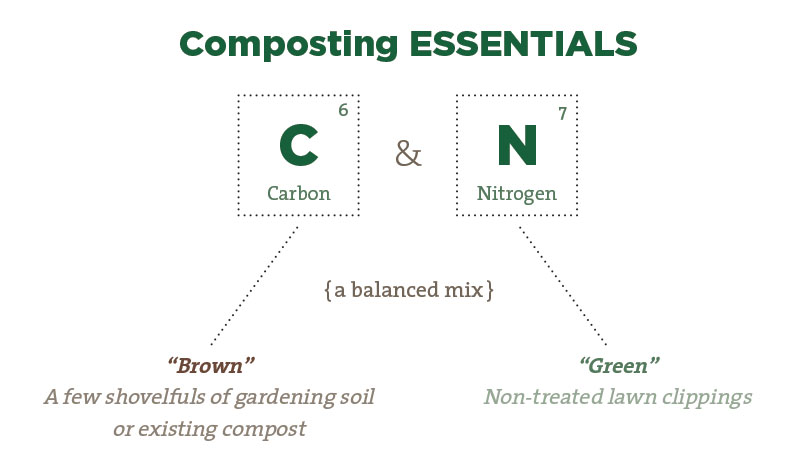
Microbes that break down the matter rely on these two ingredients, so try and keep them as balanced as possible for optimal decomposition. Adding in too many grass clippings, for instance, won’t allow for proper decomposition.
Wet the compost pile or bin with a hose, mix everything up really well, and then water again until it’s completely saturated.
Quick and Dirty Tips:
- Turn the pile frequently—at least once a week—to aerate the compost pile.
- Keep in mind that direct sun and heat speed up the composting process, so choose a place with plenty of light.
- Wet your scraps. The compost pile must stay moist—like a wrung-out sponge—but not too wet.
- Keep a good green-brown ratio. Some composting gurus swear their method is best, but you can either layer the greens and browns or mix everything together.
How do I know when my compost is done?
Compost creation can take anywhere from three months to a year, depending on a number of factors, including materials, outside temperature, and how often you’ve turned it. You’ll know your compost is ready when it resembles rich, black earth without discernible pieces of food scraps and other matter.
It’s done. Now what?
Apply compost to a garden two to four weeks before you plant for the season to allow the rich nutrients to sink into the soil.
You’re well on your way to not only giving back to the environment and reducing waste but gaining nutrient-rich soil for your garden. We think that’s a pretty winning formula.
Don’t forget to download & print our Composting Guide and hang it in your kitchen as a quick reminder.
Image Sources: Storage Bin Compost | Trashcan Compost
Nice Info. Eco-friendly Products bring a unique look and help heal our nature.